Why Does My Mini Split Struggle to Heat When It Is Below 10°F?
A mini split that heats your garage comfortably at 25°F may feel underpowered when the outdoor temperature drops below 10°F. That doesn’t necessarily mean the system is broken. Cold weather reduces a heat pump’s capacity, and a garage can lose heat faster than the interior room BTU charts used to size many residential systems assume.
Still, a dramatic loss of heat, repeated shutdowns, or indoor air that stays cool can point to an undersized or poorly installed unit, blocked airflow, excessive frost, or an electrical problem. Here’s how to sort out normal cold-weather behavior from a fixable issue—and what to check before replacing your mini split.
What Changes Below 10°F?
A mini split doesn’t create heat by burning fuel. It moves heat from outdoor air into your home or garage. Even cold outdoor air contains some heat energy, but extracting it becomes harder as the temperature falls. The system may run longer, use more electricity, and deliver less heat than it does in milder weather.
This is called a heat pump capacity drop. The size of the drop varies by model and outdoor temperature. One mini split may retain useful heating capacity at 5°F, while another may struggle well above that point. Don’t rely on a general claim such as “works in cold weather”: check the manufacturer’s capacity tables for the specific model at the temperatures you actually experience.
The indoor unit’s airflow can also feel less hot during a long heating cycle. That alone doesn’t prove the system is failing. A heat pump often supplies a steady stream of moderately warm air rather than the short bursts of very hot air typical of a furnace.
Why a Garage Is Harder to Heat Than an Interior Room
Garages are often poorly insulated, leaky, and exposed to outdoor conditions on several sides. A large overhead door, slab floor, unsealed gaps, and a high ceiling can all increase heat loss. The space may also start out very cold after sitting unheated overnight, leaving the mini split with a larger temperature difference to overcome.
For a first-pass estimate, a garage may need roughly 30% to 50% more heating capacity than an interior room of similar floor area. Treat that as a rough garage-specific adjustment, not a substitute for a heat-loss calculation. A tight, well-insulated garage may need less; a drafty, tall garage with an uninsulated door may need more. A standard interior-room BTU chart can miss these differences.
Check these garage factors before blaming the unit
- Ceiling height: A tall ceiling means more air to heat, and warm air can collect overhead.
- Insulation: Check the ceiling, exterior walls, and especially the garage door. Insulation with gaps or compressed sections performs worse than its label suggests.
- Air leaks: Look around the door perimeter, windows, service doors, and utility penetrations. Weatherstripping and sealing can reduce heat loss.
- Slab and exterior exposure: A cold concrete slab and multiple exterior walls add to the heating load.
- Use pattern: Opening the overhead door, bringing in a cold vehicle, or expecting a fast warm-up after hours of setback increases the demand.
Improving insulation and sealing leaks may help more than simply installing a larger mini split. Oversizing without a proper assessment can create other performance and comfort issues, particularly during milder weather.
Read the Cold-Weather Capacity Data
Look up the exact indoor and outdoor model numbers, then find the manufacturer’s heating-capacity data at several outdoor temperatures. Pay particular attention to the temperature range you care about—such as 10°F, 5°F, or 0°F. The nominal BTU rating is not a promise that the unit will deliver that output at every temperature.
Check whether the manufacturer publishes capacity at low temperatures, the unit’s minimum operating temperature, and whether the system requires supplemental heat below a specified point. For reliable comparisons, use manufacturer documentation rather than a retailer’s headline rating alone.
If the capacity table is hard to interpret, ask the manufacturer or seller to explain the expected output at your design temperature. Zone Air may be one source to compare when researching mini split options and support. Ask specific questions about the model’s low-temperature heating capacity, included equipment, line-set requirements, and electrical specifications—not just its advertised BTU size.
Defrost Cycles: Normal, but Not Constant
In cold, damp weather, frost can build up on the outdoor coil. The heat pump periodically reverses operation to melt that frost. During a defrost cycle, indoor heating may pause or the indoor fan may slow down. Water or check here steam around the outdoor unit can be normal as frost melts.
Defrosting becomes a concern when the outdoor coil remains heavily iced, the unit appears to defrost repeatedly without recovering, or indoor heat stays weak for an unusually long time. Snow, leaves, or other obstructions can interfere with airflow and make the problem worse.
Check the outdoor unit safely
- Keep snow, leaves, and stored items clear of the unit’s air inlets and outlet.
- Make sure the unit is elevated and installed according to the manual so melting water can drain and refreezing is less likely.
- Don’t chip ice off the coil or pour hot water over it; you can damage the fins or create another layer of ice.
- If the unit is encased in ice or won’t clear itself, follow the manufacturer’s instructions and contact a qualified service provider.
Installation Details That Affect Low-Ambient Heating Performance
A capable cold weather mini split can still perform poorly if the installation restricts airflow or creates drainage problems. The outdoor unit needs the clearances specified in its manual. Its location should also account for snow drifting, roof runoff, and where defrost water will go.
A stable condenser pad can provide a level base for a ground-mounted outdoor unit, but it should be positioned at the height and with the clearances the manufacturer requires. In areas with significant snowfall, a low pad may leave the unit buried or block airflow. Wall brackets can raise the unit above drifting snow, but they must be rated for the equipment’s weight, attached securely to suitable framing or masonry, and installed with vibration and service access in mind.
Don’t improvise by enclosing the condenser to keep it warm. The outdoor coil needs unobstructed airflow. Also review the line-set instructions before buying a system: check the permitted length, whether additional refrigerant is needed, and whether excess line can be routed properly. Avoid an installation plan that leaves a forced coil of extra line behind the condenser unless the manufacturer specifically allows that arrangement.
115V Plug-In or 230V Dedicated Circuit?
Some smaller mini splits are designed for 115V power, while many larger or higher-output models require 230V. A plug-in model can be convenient, but a plug does not automatically mean it is suitable for any outlet or extension cord. The outlet, circuit, plug, and breaker must all match the manufacturer’s requirements.

For a 230V model, plan on the required dedicated circuit and the correct disconnect and wiring. Before purchase, compare the unit’s nameplate and installation manual for the minimum circuit ampacity (MCA) and maximum overcurrent protection (MOCP). These values guide the wiring and breaker selection; don’t choose a breaker based on guesswork or the unit’s BTU rating. Have an electrician verify the panel’s capacity and complete work that requires a permit or professional installation.
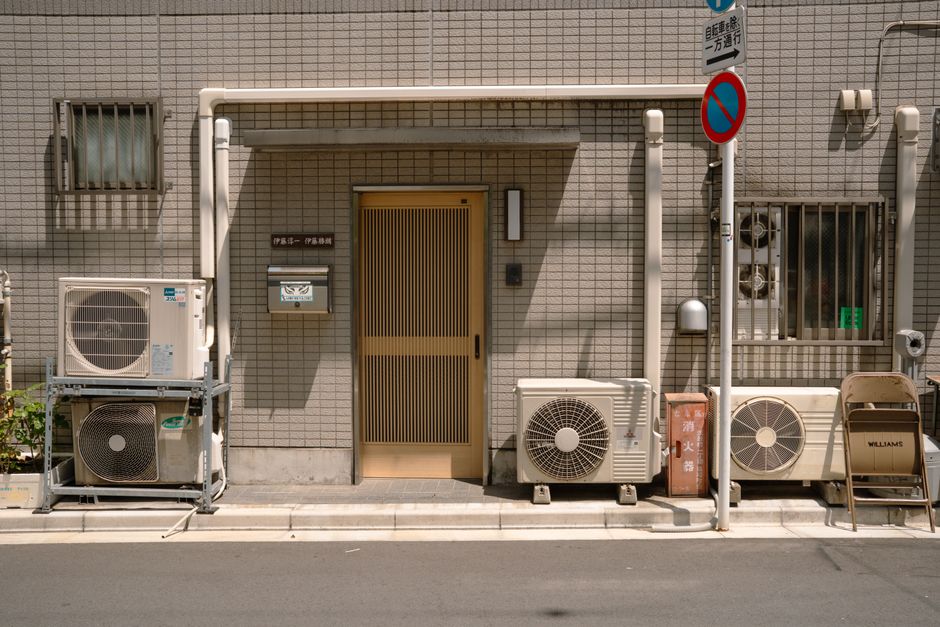
Electrical supply is a safety issue, not a DIY shortcut. If a breaker trips, a plug or disconnect feels hot, or the unit behaves erratically, stop using it and have the circuit checked.
Zone Air vs. MRCOOL for a DIY Garage Project
When comparing Zone Air and MRCOOL, focus on the specific system and the support you’ll need—not just the brand name or “DIY” label. Product lines, included components, warranty terms, and installation requirements can vary by model and seller. Verify current details in the equipment manual and written warranty before ordering.
Comparison point What to verify with Zone Air What to verify with MRCOOL Low-temperature heating Ask for model-specific heating capacity at your winter design temperature. Use the technical data for the exact model; confirm capacity at your design temperature. DIY installation Confirm which steps are homeowner-friendly and which require a licensed professional. Check the manual for connection, evacuation, and commissioning requirements for that model. Line set and included parts Check line-set length, routing limits, and whether the kit suits your layout. Confirm what is included, what lengths are allowed, and how extra line must be handled. Electrical and warranty Match the installation to the nameplate and read warranty conditions before purchase. Check voltage, circuit requirements, warranty terms, and any required installation steps.MRCOOL has products marketed for DIY installation, but that doesn’t eliminate the need to follow the manual, handle electrical work correctly, and confirm warranty conditions. With either company, compare the total installed cost, availability of parts, service options in your area, and whether you’re comfortable with the required installation steps. If you want help evaluating contractors or getting quotes, Angi can be a starting point for finding local pros; check credentials and ask who will handle the electrical work and commissioning.
SEER2, HSPF2, and What They Say About Operating Cost
SEER2 measures seasonal cooling efficiency. It can help compare cooling performance, but it does not tell you exactly how well a system will heat your garage at 5°F. For heating, look at HSPF2, a seasonal heating-efficiency measure, along with low-temperature capacity data. Neither rating guarantees a particular winter bill or proves that a model will maintain its full output in extreme cold.
Your operating cost depends on the heat the building needs, the system’s efficiency at the outdoor temperatures you experience, your electricity rate, thermostat settings, and how often the garage door opens. To estimate cost, use the manufacturer’s performance data when available and your local utility rate. Improving air sealing can cut demand and runtime, while asking the mini Go here split to rapidly heat a very cold, leaky garage can raise consumption.
Quick Troubleshooting Before Calling for Service
- Confirm the settings. Set the unit to heat, choose a reasonable target temperature, and check that a timer or schedule isn’t limiting operation.
- Clean the indoor filters. Restricted airflow can reduce comfort and efficiency. Follow the manual for cleaning and maintenance.
- Check airflow outdoors. Clear snow and debris without bending the coil fins or blocking drainage.
- Allow for recovery. A cold-soaked garage may take hours to warm; avoid judging performance only by the first few minutes.
- Watch a complete cycle. Note whether the unit runs steadily, enters defrost, and then resumes heating. Persistent icing or frequent unexplained stops needs attention.
- Review installation and electrical details. Confirm clearances, drainage, voltage, and circuit requirements against the manual. Leave electrical diagnosis to a qualified electrician.
When to Get Professional Help
Call a qualified HVAC technician if the unit repeatedly displays a fault code, remains iced over, makes unusual noises, leaks refrigerant, or cannot maintain heat despite clean filters and clear airflow. Avoid opening refrigerant lines or attempting refrigerant adjustments yourself. A technician can check operating pressures, sensors, defrost controls, and whether the system’s output matches its specifications.
If the system is simply undersized for a drafty garage, service may not solve the underlying problem. Gather the garage’s dimensions, ceiling height, insulation details, model numbers, and the coldest temperatures you need to handle. Then compare the manufacturer’s low-temperature capacity with a proper heat-loss estimate. That’s a much better basis for a fix than choosing a replacement from a room-size chart.
The Bottom Line
A mini split can struggle below 10°F because cold weather reduces heat-pump capacity, defrost temporarily interrupts heating, and garages often lose heat faster than interior rooms. Start with the unit’s cold-temperature performance data, then check insulation, air leaks, outdoor airflow, installation clearances, and electrical requirements. A garage may need 30% to 50% more capacity than a comparable interior room as a rough starting point—but the right size depends on the building and the temperature you need to maintain. Pair careful sizing with correct installation, and the system has a far better chance of delivering dependable low ambient heating performance.