What Drill Bit Makes Clean Holes in Cardboard for Wire Handles?
If you’re a fellow packaging and reuse hobbyist like me, you already know that giving cardboard boxes a second life is both art and science. When adding wire handles to reclaimed boxes or totes, one of the trickiest parts is drilling clean, precise holes that won’t tear or fray. Those ragged holes can weaken your whole structure, leading to sagging or sudden drops—no one wants a box collapse catastrophe halfway through moving day!
In this post, let’s dive deep into what drill bit makes clean holes in cardboard for wire handles, while touching on key tools and techniques to make your DIY storage projects trustworthy and durable. We’ll cover:
- Why clean holes matter—and how to avoid ragged holes
- The magic of the brad-point drill bit for cardboard
- How slow drilling technique preserves fiber integrity
- Choosing the right wire gauge for your handles and their load capacity
- Using parallel-action pliers and side cutters to make flawless bends and safe cuts
- Tips on reinforcing weak cardboard before drilling to avoid tears
Why Avoid Ragged Holes in Cardboard?
Think of your cardboard like the pages of a book. When you make a sloppy hole, it’s as if you tore the paper edges instead of cutting them cleanly. Just as ragged pages make your favorite novel look worn and fragile, ragged holes weaken your box. This can lead to:
- Stress concentrations that cause the cardboard to rip under tension
- Handles pulling free unexpectedly, risking damage to your stored items
- Decreased load capacity that undermines your entire storage system
Precision and care while drilling ensure your wire handles — which are like the spine holding your “book” together — stay firmly anchored. A crisp hole that’s just a hair larger than the wire diameter (plus or minus 1 mm is my mental tolerance) creates a snug fit, preventing slippage but not cutting fibers.
The Brad-Point Drill Bit: The Go-To for Clean Cardboard Holes
When drilling into wood, a brad-point bit is preferred because it cuts with precision, keeping the edges clean and reducing tear-out. The same logic applies beautifully to cardboard.
Why brad-point bits work so well on cardboard:
- Centering tip: The sharp point prevents the bit from wandering, ensuring your hole is perfectly placed every time.
- Sharp spurs: These cut the fiber cleanly around the perimeter, producing a smooth hole edge instead of a jagged mess.
- Flat cutting surfaces: Peel through cardboard layers cleanly, much like how a bookbinder trims pages to uniformity.
For wire handles, you want your hole diameter just slightly wider than your wire gauge—not so loose the handle wiggles, and not so tight it tears fibers during fitting.
Tips for Using Brad-Point Bits on Cardboard
- Mark your drill spot clearly. Use a pencil and measure carefully; slight misplacement can weaken your box.
- Clamp or stabilize the cardboard. Prevent bending or fluttering for a clean drill path.
- Use the slowest practical drill speed. Fast drilling causes heat and fiber burn, leading to ragged edges and potential collapse.
- Apply gentle, steady pressure. Think “caress the cardboard” rather than “rip through.”
- Back the cardboard with a scrap piece. This supports the fibers from behind, preventing tear-out as the bit exits.
Selecting the Right Wire Gauge and Assessing Load Capacity
Wire handles are a classic DIY charm, but not all wire is created equal—especially when reusing materials. Your wire gauge (thickness) determines how much load the handle can support and how easy it is to bend cleanly without kinking.
Wire Gauge (AWG) Diameter (inches/mm) Approx. Load Capacity (lbs/kg) Recommended Use 16 0.050 inch / 1.29 mm 10 lbs / 4.5 kg Light boxes, gift bags 14 0.064 inch / 1.63 mm 20 lbs / 9 kg Medium crates, tote handles 12 0.081 inch / 2.05 mm 40 lbs / 18 kg Heavy-duty boxes, garage storageNote: Wire strength depends on the material (steel, galvanized, copper), but gauge is a good baseline. Thin wire (like floral wire) may look charming but can fail catastrophically—a pet peeve of mine when handling heavier loads.
Choosing Wire That Bends and Cuts Cleanly
Wire toughness goes hand in hand with tool choice. Using parallel-action pliers and side cutters is essential. Here’s why:
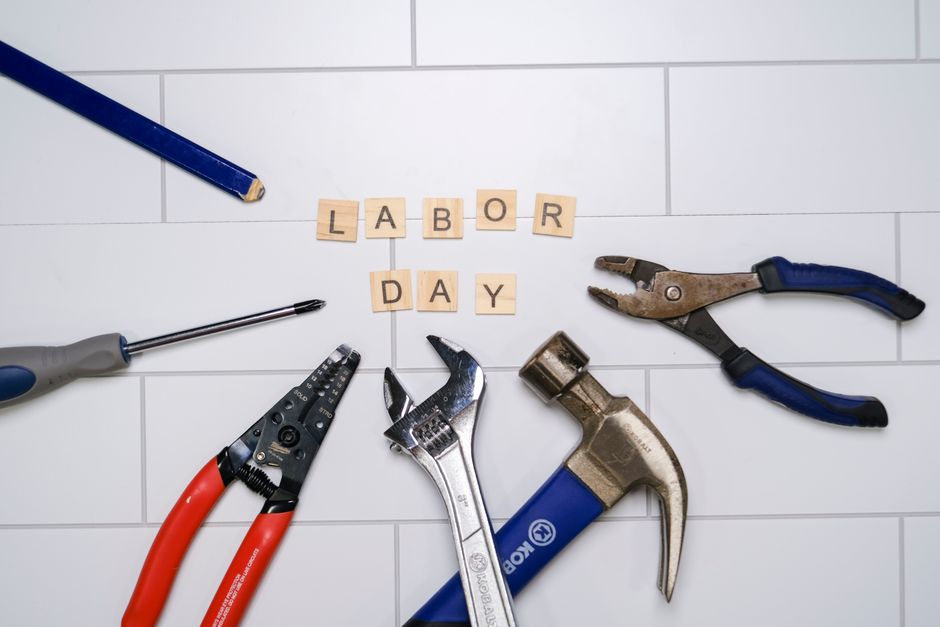
- Parallel-action pliers keep the jaws perfectly aligned, ensuring your bends are smooth, uniform, and free from unwanted kinks that weaken the wire.
- Side cutters provide clean cuts without crushing or deforming the wire ends, preventing sharp burrs that could damage you or the cardboard edge.
Pro tip: Invest the small extra in good parallel-action pliers—bending wire handles is like setting a book’s spine properly; sloppy bending makes the whole thing lose structure.
Reinforcing Cardboard Before Drilling for Maximum Strength
Cardboard is surprisingly strong when undisturbed, but puncturing it can create weak spots. Reinforcing around drill sites extends box life and handle reliability.
How to Reinforce Cardboard for Wire Handles
- Lamination: Glue an extra layer or two of cardboard on the inside or outside of the handle hole area. Use white glue sparingly to keep layers bonded like a tight library stack.
- Foam or thin plywood inserts: For heavier loads, insert thin plywood or craft foam patches behind the drill hole—think of it like a hardcover’s rigid backing versus paperback flimsiness.
- Recess washers: Use metal or plastic washers around the handle hole area to spread the load and prevent tearing, especially for medium to heavy-duty boxes.
Do this reinforcement before you drill, letting glue dry fully. It’s like prepping a book’s spine before binding—skip this step and your box might unfold in unpleasant ways.
Putting It All Together: Step-by-Step Guide
- Measure and mark your hole positions carefully. Use a ruler for uniformity—your box is your library, so each “shelf” (hole) needs precise placement.
- Apply reinforcements to weak cardboard if necessary. Extra layers or backing boards make all the difference.
- Clamp the cardboard with a scrap piece beneath the drill spot. Prevents fibers from tearing as the drill exits.
- Select a brad-point drill bit sized just wider than your wire gauge (+/- 1 mm).
- Drill at slow speed with gentle, steady pressure. Let the bit do the slicing rather than forcing it.
- Deburr any rough edges gently if needed with fine sandpaper.
- Bend your wire handles using parallel-action pliers. Use side cutters for clean wire ends.
- Insert wire handles snugly but without forcing; tight but not fiber-crushing.
- Add washers or caps if desired to distribute load.
Final Thoughts
Drilling clean holes in cardboard for wire handles isn’t rocket science, but it demands respect for your materials and tools. Using a brad-point drill bit combined with slow, patient drilling technique avoids ragged holes and makes your reclaimed packaging trustworthy. Pair that with the proper wire gauge selection and masterful tool use—parallel-action pliers for smooth bends and side cutters for sharp cuts—and you get DIY storage as reliable as a well-organized library shelf.

Always remember: your boxes may be humble cardboard, but treating them with the care of a packagingrevolution book conservator elevates your reuse projects from fragile to formidable.
Happy drilling, bending, and building!